This post originally appeared on the Shapeways blog.
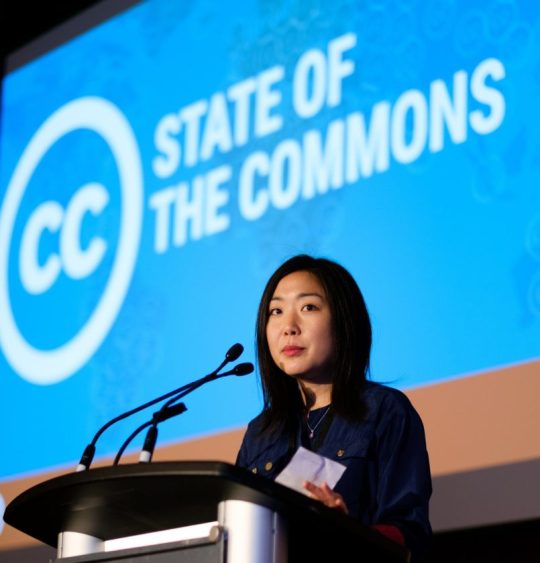
Jane Park at the Creative Commons Global Summit 2017 by Sebastiaan ter Burg CC BY 2.0
The relationship between Creative Commons and the 3D design community is deep and complicated. Last month’s Creative Commons Summit in Toronto provided an opportunity to celebrate the depth and … work on the complications.
Creative Commons was originally conceived with traditional copyright-eligible works like photographs, music, and books in mind, assuming that the works licensed by a Creative Commons (CC) license would clearly be eligible for copyright. The 3D printing design community has integrated CC licenses from its early days, even though copyright does not always apply as cleanly to 3D designs. This organic and somewhat unexpected pairing has lead to a vibrant culture of sharing and collaboration in the 3D design community. It has also raised a number of surprisingly thorny copyright questions.
Fortunately, at least one proposal presented at the Summit would address some of those questions. We’ll outline the proposal in part two of this post, which can be found here.
How We Got Here
Creative Commons has been part of the 3D printing community for years. Thingiverse’s decision to build Creative Commons licenses into the bones of the site helped bring — and sometimes push — countless designers into a sharing community. It also established sharing as an important norm in the 3D design community.
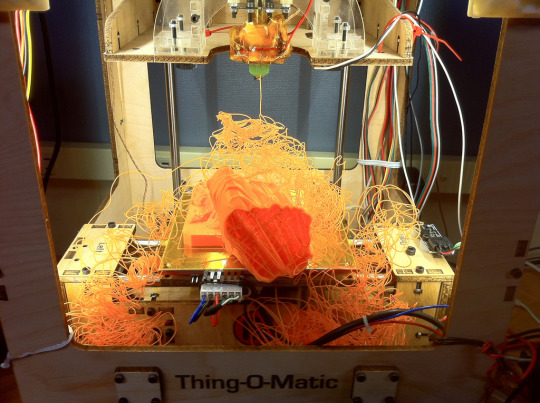
Like 3D printing itself, copyright and 3D printing don’t always align perfectly. Image: Tony Buser CC BY-SA 2.0.
While the ethos of Creative Commons is in close alignment with the beliefs of many 3D designers, the legal realities do not always fit together as cleanly. Creative Commons is a copyright license, but not all 3D printed objects are eligible for copyright protection. That means that a Creative Commons license might not work as expected when it is attached to some 3D printable designs because it might not actually be legally enforceable. Furthermore, conditions that are easy to apply in a digital world (like attribution) can be somewhat harder in the physical realm.
In 2015, Creative Commons held the first formal explorations of the relationship between 3D printing and CC at its Summit in Seoul. That exploration established the foundation for a more detailed discussion last year. With Jane Park and Sarah Pearson guiding the analysis, last year’s discussion helped frame some of the questions that we attempted to answer at this year’s Summit.
3D Printing and Copyright Have a Complicated Relationship
This blog post would be a simple story of two great communities working together except for one challenge: copyright does not apply cleanly in the world of 3D printing. As a result, in the context of 3D printing, licenses based on copyright (such as CC licenses) are not always what they appear. (Pages 4-12 of this white paper explore when copyright does and does not attach to 3D printed files and objects.)
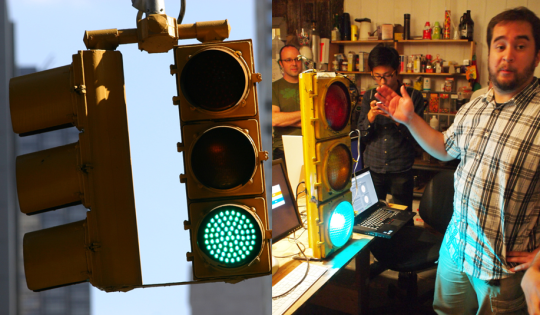
The traffic light on the left creates a legally enforceable obligation to stop at the intersection. The traffic light on the right can only send a social signal to stop doing whatever it is you are doing. Credits: Left image grendelkhan CC BY-SA 2.0. Right image Becky Stern CC BY-SA 2.0. Combined image offered under CC BY-SA 2.0.
Sometimes they exist as legally enforceable licenses. Other times they are merely social signals, requesting that users follow rules that cannot be enforced in court. Oftentimes designers and users are not clear which of those roles apply to any specific model being licensed.
This complicated relationship can create at least two categories of problems if a creator adds a CC license (for example, a CC BY-SA license that requires users to give attribution to the creator and to relicense any adaptations under a similarly open terms) to a model that is not protected by copyright.
Category 1: Damned if you do
First, applying a CC license to a work not protected by copyright shrinks the commons.
By default, a work that is not protected by copyright is in the public domain, available for anyone to do whatever they want with it. No license is required – that’s what the public domain means.
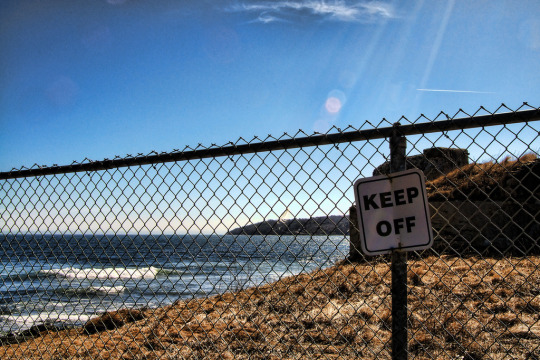
Even if they are not legally enforceable, CC conditions can create barriers to use. Credit: Teresa Alexander-Arab CC BY-ND 2.0.
But some users who want to make use of the public domain model may be prevented from doing so because they do not want to have to comply with the share-alike requirements of the license incorrectly applied to it. Fortunately, since the model is not protected by copyright, that share-alike requirement is not legally enforceable. It is a request masquerading as a demand. Unfortunately, that masquerade may be convincing enough to scare some users away from making completely legitimate uses of the work.
Second, incorrectly using a license can disillusion creators.
This happens when the creator incorrectly believes that the licenses are enforceable for works that are not protected by copyright. A creator could use a CC license to release models online for years. Only after trying to enforce the license would they discover that the condition of attribution baked into that license is unenforceable.
Category 2: Damned if you don’t
Unfortunately, there is also danger in omitting a license when a designer believes that the work is not protected by copyright at all.
If the designer is wrong and the design (or part of the design) is actually protected by copyright, the lack of a CC license will prevent future users from building upon it. This mistake is easier to make than it might appear. Sometimes only small, easily overlooked, parts of models are protected by copyright. Other times copyright law evolves, extending protection to works that were in the public domain when they were created. That means that a creator could be correct about the copyright status of the work when it is created, but wrong by the time a user comes along looking to use it.
Like I said, complicated.
Summit Goals
While Creative Commons ultimately decides how (if at all) it wants to engage with these complicated questions as an organization, the purpose of the sessions at the Summit was to define factors to consider and possibly propose options. Presentations by re:3D, MakerBot (as home to Thingiverse), Aleph Objects, the NIH 3D Print Exchange, and Creative Commons US helped describe current community expectations and propose possible paths forward.
These presentations, especially the one by CC USA’s Meredith Jacob, helped to flag a number of considerations that the community and CC need to keep in mind when trying to address the concerns that prompted the session.
Licenses First, Social Signals Second
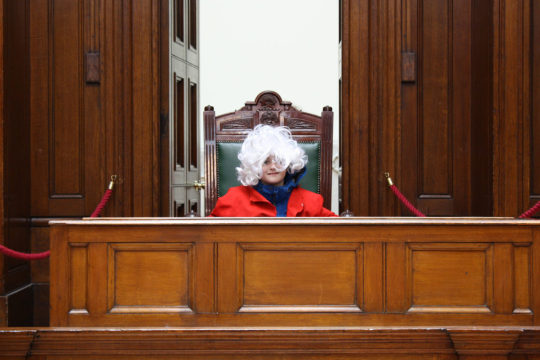
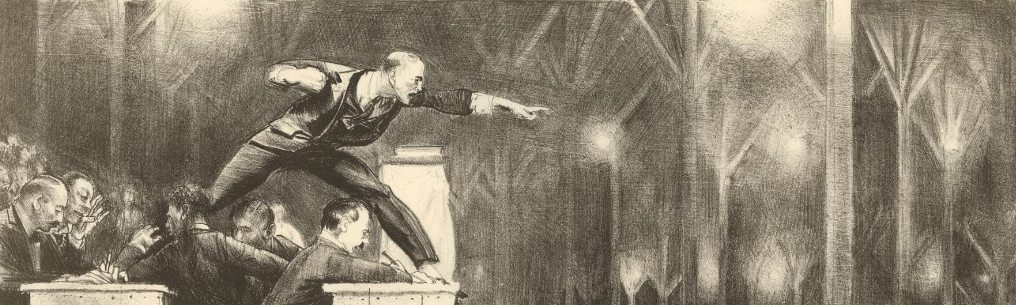
Judges need to be able to enforce CC licenses as legally binding documents. Credit: Dark Dwarf CC BY-ND 2.0
CC licenses serve a legal purpose (as a binding legal agreement) and a social purpose (as a social signal to users about how a creator intends for a work to be used). Both of these purposes are important, although they can sometimes work to undermine each other. The key to the long term viability of Creative Commons is to make sure that the social use does not undermine the enforceability of the legal one.
If CC licenses become mere social signals, the legal foundation of Creative Commons begins to erode. That is because courts could decide that creators did not really mean to make their social signal legally enforceable, or that users cannot reasonably be expected to understand that they entered into a real, legally binding agreement when they used a work that was CC-licensed.
That makes it important to ensure that in most cases CC licenses are used in ways that are legally enforceable — as licenses for copyrights that actually exist. Encouraging people to put CC licenses on every 3D printable thing would result in many CC licenses being used in works that are not eligible for copyright protection. In other words, it would result in many CC licenses being used only as social signals. Use primarily as a social signal undermines the enforceability of CC licenses because it undermines the argument that CC licenses are intended to be legally enforceable promises.
Growing the Commons vs. Empowering Sharers
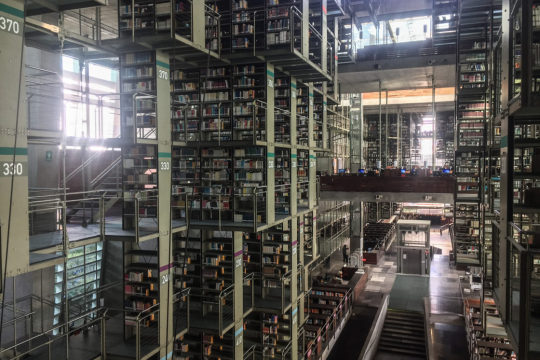
You need to be able to find things in the commons in order to use them. Credit: Paul Keller CC BY 2.0
There is a distinction between a legal commons and a findable commons. The legal commons is made up of works in the public domain (i.e. works not protected by copyright) and works that are permissively licensed with Creative Commons licenses. These are all works that are legally available for people to remix, build upon, and improve without risk.
The findable commons is a smaller subset of the legal commons. It includes works that can legally be shared and found by people who want to remix, build upon, and improve them. The mechanical door opener in your basement or the Renaissance painting in your attic may be part of the legal commons because they are not protected by copyright. But they are not part of the findable commons because other people do not know that they exist.
Convincing people to contribute works already in the legal commons to the findable commons is not a legal challenge. It is a social challenge. It involves making potential contributors comfortable with the idea of contributing to a collective pool of works available to everyone.
The Creative Commons licenses manage to grow the legal commons through the terms of the licenses and to grow the findable commons by allowing people to retain some control over their works. This partial control allows someone to ease into the idea of sharing without having to choose between being fully open or fully closed. Someone who is uncomfortable with the idea of unconditionally contributing their work to the commons might feel more comfortable contributing under the condition that any future users give them credit or that their work is not modified.
This can be true even for people creating works that are in the public domain (and therefore the legal commons) from the start. If they do not realize that the CC license cannot be enforced, the CC license terms may still encourage them to contribute their work that is in the legal commons into the findable commons by creating an illusion of control.
This creates a tension. Educating and empowering users so they understand when a CC license is not enforceable (and therefore drawing attention to the illusion) could also make them less reluctant to contribute to the findable commons. The win for user education could create at least a short-term loss for the commons. While user education is likely the higher good, it is important to recognize the potential short-term cost of its expansion.
Education Helps
At the core of all of these questions is the issue of education. There are 3D printable works that are protected by copyright. There are 3D printable works that are not protected by copyright. If designers and users could learn how to easily distinguish between the two and apply licenses in a legally accurate manner everything would be easy and this blog post would be a lot shorter.
Unfortunately, drawing this distinction can be complicated for specialists (and the U.S. Supreme Court keeps changing the rules). That makes it unreasonable to expect nonspecialists to fully understand the scope of copyright protection and unrealistic to think that we can educate our way out of this problem.
That being said, a better understanding of these issues could go a long way. Creative Commons may be well positioned to help create tools, disclaimers, and other mechanisms to help designers, platforms, and users understand what happens to the Creative Commons licenses as they drift further away from their traditional areas of coverage.
Part 2
So many questions and challenges! Fortunately, part 2 of this blog post discusses a concrete proposal that helps address some of them.