This one is pretty straightforward. I wanted to make a big red button that would play a sound of my choosing when I pushed it. I thought about trying to reprogram one of the Staples easy buttons or even trying to design my own custom board. But both of those options turned out to be much more complicated than what I ended up with.
Turns out you only really need 2 things:
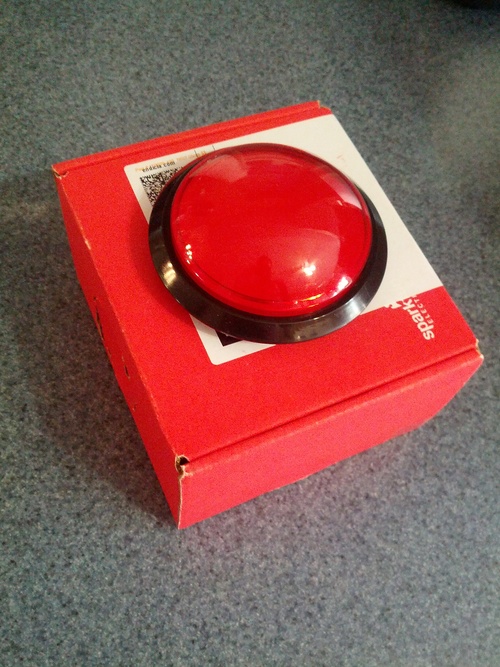
1 Big Dome Pushbutton (I got the economy one from Sparkfun): $5.95
1 Recordable Sound Module from Invite By Voice: $6.99
You will also need some sort of box. While I have dreams of making a laser cut box for this thing, as you can see a Sparkfun box works pretty well for now.
The sound module is incredibly straightforward to use. Basically you download a bit of software from their site, connect the dongle, and upload it to the module. It can actually support quite a long sound clip (at highest quality about 100 seconds) which is totally overkill for my purposes.
Once you have uploaded it, pressing the button will trigger the sound. But the stock button is a tiny little thing. That’s where the big red button comes in.
The button is just a big way to trigger the switch. To introduce it into the sound module, just cut off the stock button and solder in the switch that comes with the button:
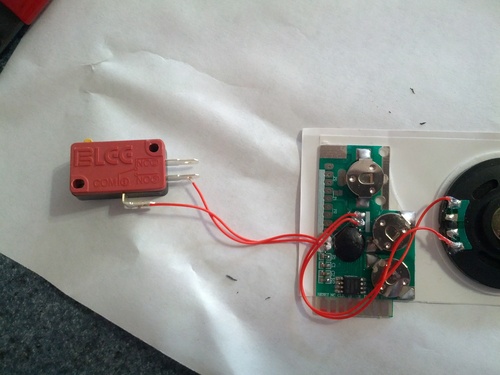
Note that you only have two wires but the switch has three terminals. One of the wires attaches to the terminal at the bottom (labeled “COM”). Choosing between the other two terminals defines the nature of the circuit. The top terminal would make the circuit default on and cause the button push to break the circuit. The bottom terminal would make the circuit default off and cause the button push to connect the circuit.
Since we want the button to turn the circuit on, I used the bottom terminal.
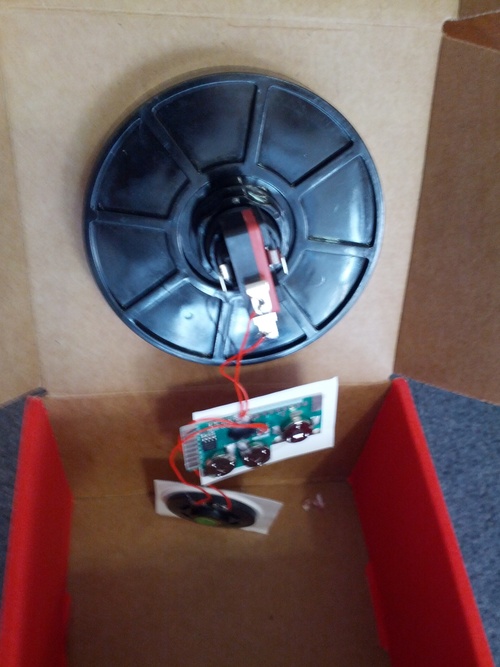
Now connect the switch with the rest of the button. At this point you are pretty much done - pressing the button should play the sound. But just having a button isn’t quite enough. It really needs a place to live. Enter the box.
First I cut (actually drilled) a hole into the top and installed the button:
The cardboard muffled the sound a bit so I cut a second hole and attached the speaker to it: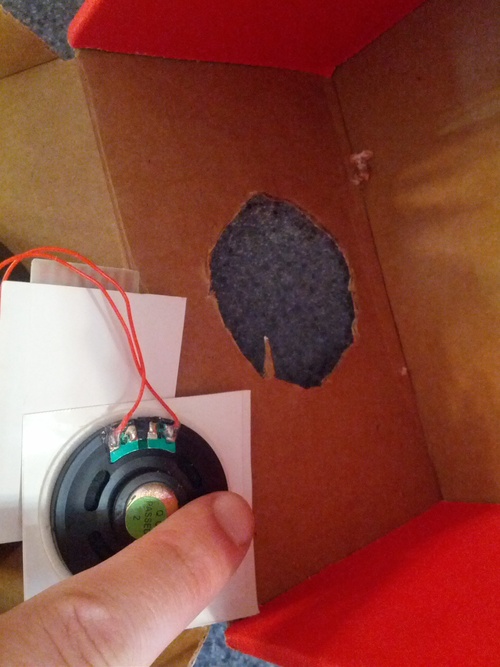
Note that I also cut the speaker off from the control module itself. The wires are still attached, but cutting the paper let me position the speaker a bit easier.

And that’s really it. It took me a long time to figure this out but once I found the sound module it was super easy.