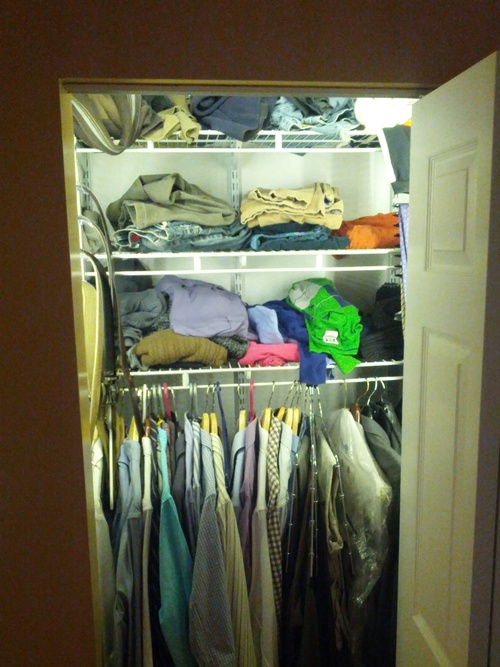
My closet doesn’t have an overhead light, which can make finding things a bit hard. Fortunately, it is pretty easy to install an LED strip to light up the entire thing.
It should probably go without saying that I’m not an electrician or electrical engineer, so make sure you are careful if you try this yourself.
To do this, you will need:
A strip of LED lights (I used these) ($13)
A power supply (I used this one) ($10)
A DC female barrel jack adapter (I used this one) ($3)
A rocker switch (any switch will probably do, but I used this one) ($1.50)
A box to house the stuff. I used a plastic box used to mount a light switch or outlet that I got from the local hardware store. The important characteristics were that it was plastic (so I could drill into it), it was deep enough to hold the switch, and that it had flanges on the outside to make it easy to mount.
A bit of hookup wire (like this) ($2.50)
Electrical tape
2 Nails
Optional: Double sided tape and extension cords
When you get the LED strand you will notice that one side already has an adapter that fits into the power supply. I suppose you could cut open the adapter and just directly insert the switch, but since the other side of the strand is bare wires and the extra adapter was only $3, I decided to use the other side.
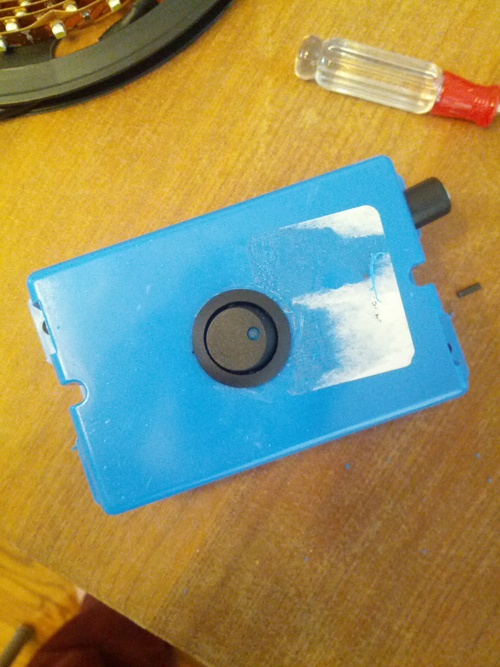
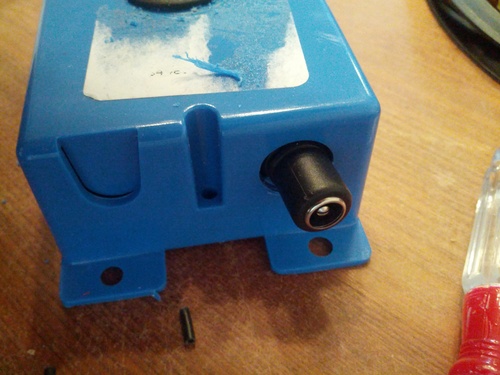
Step 1: Drill holes into the box. I put one on the face for the switch and one on the top for the power supply. Once you have the holes, push the switch in. If you have strong feelings about which way should be “on,” make sure that the switch is oriented to your power hole is at the top.
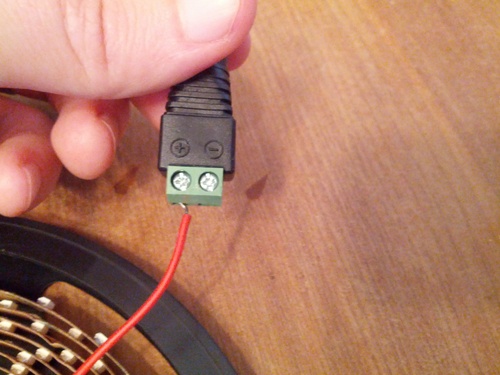
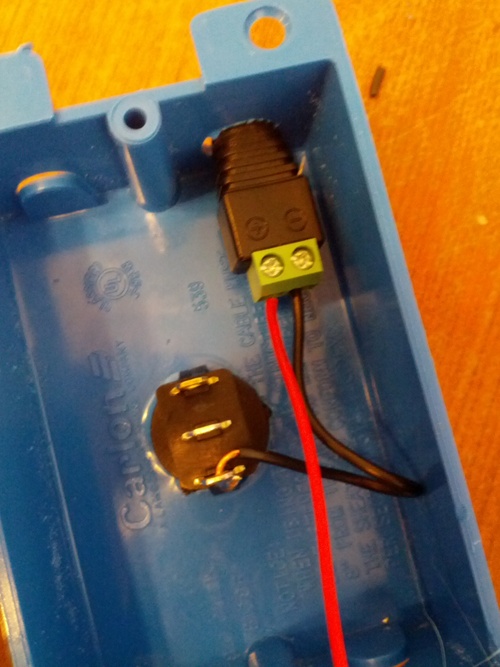
Step 2: Connect one of the LED wires to the power supply. If you didn’t need the switch but you still wanted to use the female connector you got, you could just connect both of the wires. But assuming you want the switch, just connect one (as far as I know, it doesn’t matter which one).
Step 3: Connect the other side to the switch. You may notice that the switch actually has three terminals. The third gold terminal is actually to power the LED in the switch itself. I didn’t use it, so it won’t be connected. For this connection, just run a bit of hookup wire from the other terminal of the female connector to one of the silver terminals on the switch.
Step 4: Connect the other side of the LED strand wires to the remaining silver terminal on the switch.
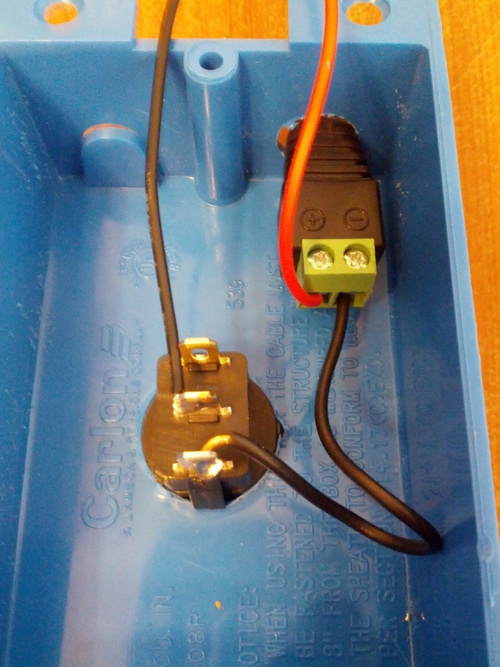
As you can see, the red and black wires that run out of the top of the picture are connected to the LED strand itself.
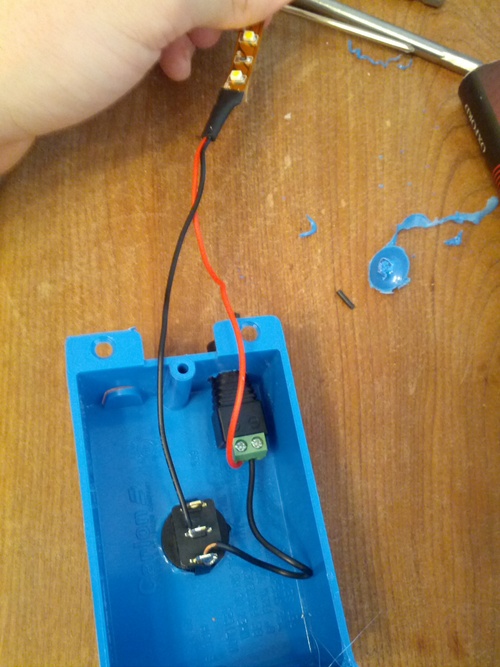
At this point you should be able to connect your power supply, turn on the switch, and get light. Assuming that worked for you (if it didn’t check your connections) you can solder up the switch connections and put on some electrical tape to keep them from shorting. This isn’t absolutely required, but both should help it work more consistently and will reduce the chance that you burn your house down.

It’s easy going from here. If you need to, run an extension cord into your closet (I tacked the wire to the wall to make it a bit neater) and decide where you want to mount the switch.
Step 5: Mount the switch by nailing the box to the wall. It’s your closet, so make it whatever height you like.
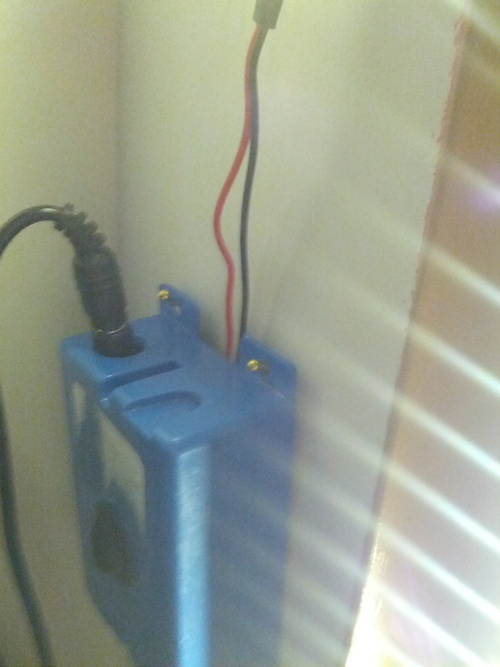
Running the power cord out of the top of the box should keep it from coming undone. The wires to the LEDs are small, so I just ran them out of the top next to the wall.
Step 6: Run the LEDs. The LED strip comes with adhesive backing, so just pull it off and press the LEDs up against the wall. However, the adhesive backing kind of sucks so I reinforced it will a bit of double sided tape every yard or so.
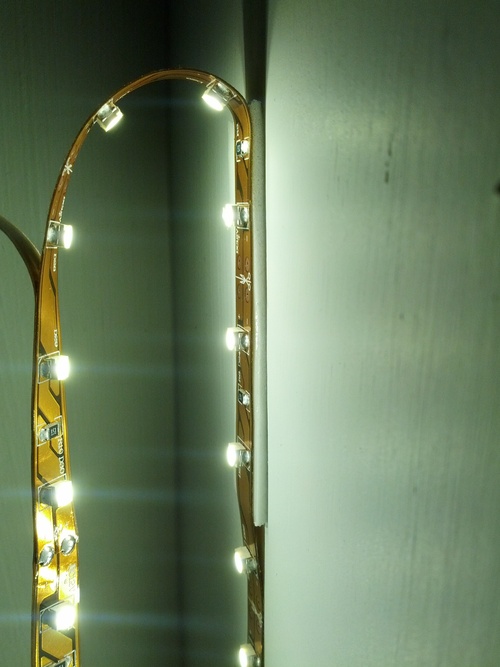
It can be hard to get the strip to turn corners at the top of your door frame. Just take your time and move in a long arc, and don’t be afraid to leave some of the strip unattached to the wall to make the turn easier. Once you have run it up one side, over the top, and down the other side you may have some extra LED strip. You can cut it wherever there is a white line with a little scissor graphic, about every two inches or so. Once you’ve done that you are finished.
